Installing an Exhaust Fan in Old Construction

A bathroom is the most humid place in the house, and one of the most important things you can do to protect your investment in an older home is to put in an exhaust fan where there is not one. While the citation for a building code for bathroom ventilation first appeared in 1946, according to howtolookatahouse.com, even today there is not a universal requirement says thespruce.com. However, while pretty much all new construction provides bathroom venting, often times older construction does not.
Lack of venting in the bathroom can lead to moisture damage to walls, doors, flooring, cabinets, curtains and even décor. It can also cause mold, mildew, and damp air that are potential health risks. There are homes where once the walls and floors are stripped away during a remodel, all of the joists and wall supports have turned black from rot and mold and have to be replaced.
A bathroom fan vented to the outside of the home will reduce overall moisture levels, lessen mold and mildew, prevent rot, and improving air quality.
What to Consider When Installing an Exhaust Fan
There are a number of things to consider when installing an exhaust fan whether it is in old or new construction. The range of options on them now is diverse.
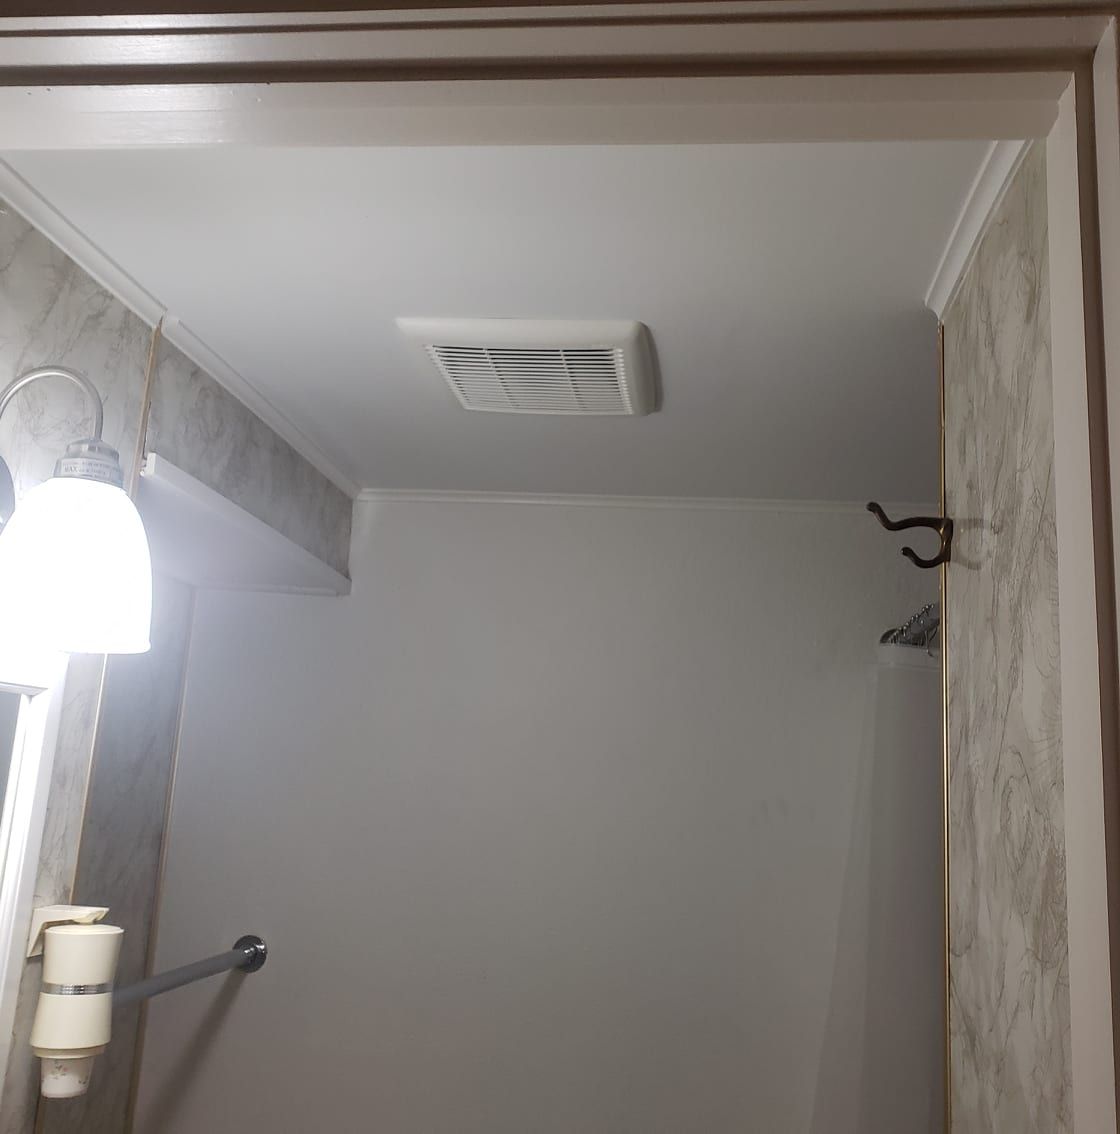
Where to Mount the Exhaust Fan. Standard practice is to mount the exhaust fan in the ceiling as close as possible to the bath tub or shower, however many are located above the toilet because they can provide not only removal of moisture and various smells, but they can also provide light and heat.
What Fan Capacity is Needed? One of the first things to take into account is the size of the room. Capacity is measured in a CFM rating, which means how many cubic feet of air can be removed from the room in a minute. Home Depot states that a fan should replace the air in a bathroom eight times per hour. Bathroom size is found by multiplying the length times the width times the height. Bathroom size times 0.13 will provide the minimum CFM rating.
Look at Noise Level. Exhaust fan noise level is measured in sones. The lower the sone rating, the quieter the fan. Often contractor grade exhaust fans are noisy, so it is worthwhile to pay a little more to invest in one that is quieter. The average exhaust fan is a noisy 4.0 sones, while some of the newest versions are a whisper quiet 0.3 sones.
Make Sure it is Energy Efficient. An ENERGY STAR label can be easily found on the most energy efficient exhaust fans. They also tend to be quieter.
Choose the Look You Want. Most exhaust fans fit flush with the ceiling and look like a vent, however there are some that look like fine lighting.
Modern technology has added new options to exhaust fans, including motions sensors that turn it on when someone enters the room, humidity detectors that run on when things get too moist, and Bluetooth connectivity to allow music to feed through the device. Another option is purchasing one that offers antimicrobial ultraviolet light technology to prevent bacteria, mildew growth, and most viruses.
Exhaust Fan Installation Process
Safe installation is a multi-step process that begins with making sure that you can place the fan where you want to place it, and ending with making sure to vent it to the outside of the house and not into the attic or under the house where the moisture can play havoc.
Most exhaust fans are attached to a joist, so it is best to use a stud-finder. Mark where you want the fan to be placed near the joist, although it is not necessary to be right up against the joist, as a wood extension can be created and attached to the joist to get the fan in the right location esthetically and function-wise.
Cut out the hole where the vent cover will be located. Then install the fan to the joist leaving a six-inch gap between the insulation and the fan.
If the venting is going to go through the roof, then cut the hole you need there, or if it is going out the side of the house, then cut the hole there the size of the vent cover. Singles must be removed before a hole is cut in the roof. And once the venting is completed, then they will need to be replaced and flashing added to seal the hole in the roof so no wanted can get in through the hole. Moisture from rain and snow can cause rot, mold and mildew just as badly as steam from a tub or shower.
Insulated flexible duct work will need to be run from the fan to the venting in the roof or the side of the house. And wiring will need to be run from the switch plate to the fan.
Adding a fan where there was no one before will require some of the ceiling to be removed and replaced, which will require new drywall and paint. If holes have been cut through ceiling or floor joists in the past, they may need to be reinforced before the exhaust fan can be put into place to insure the strength of the floor and/or ceiling structure.
Using an Exhaust Fane Effectively
Thespruce.com notes, “Bathroom fans are wonderfully effective if you run them long enough during (and after) taking a hot shower. But often people don't run them long enough to be effective - count on at least 20 minutes. Buying a timer switch is a good way to ensure the fan is really effective and simple timers aren't expensive.”
The article goes on to explain that you can get a switch that turns the fan on automatically when humidity hits a certain level, or you can buy a switch that can be programmed to run at certain times of the day.
STEVE SCHROEDER SERVICES, LLC IS CAN PUT IN A NEW EXHAUST FAN SYSTEM IN YOUR BATHROOM, LAUNDRY ROOM OR WHEREVER THERE IS EXCESSIVE MOISTURE IN YOUR HOME.
If you are not familiar with Steve Schroeder Services, LLC, know that Schroeder’s mission is, “To Keep Putting Service Back into Customer Service with the Utmost Quality and Care.”
I put my heart and soul into making sure that every job is done right! Contact me at www.servicessold.net or call me at 507-398-3346 to book an appointment. I look forward to doing business with you soon!
About the Business

